Van Build - Insulation and Noise Reduction
The floor, wall and ceiling in a van is a thin sheet metal, which means you will feel the nature’s temperature much more closely. Insulation is always the first thing to consider in a van conversion.
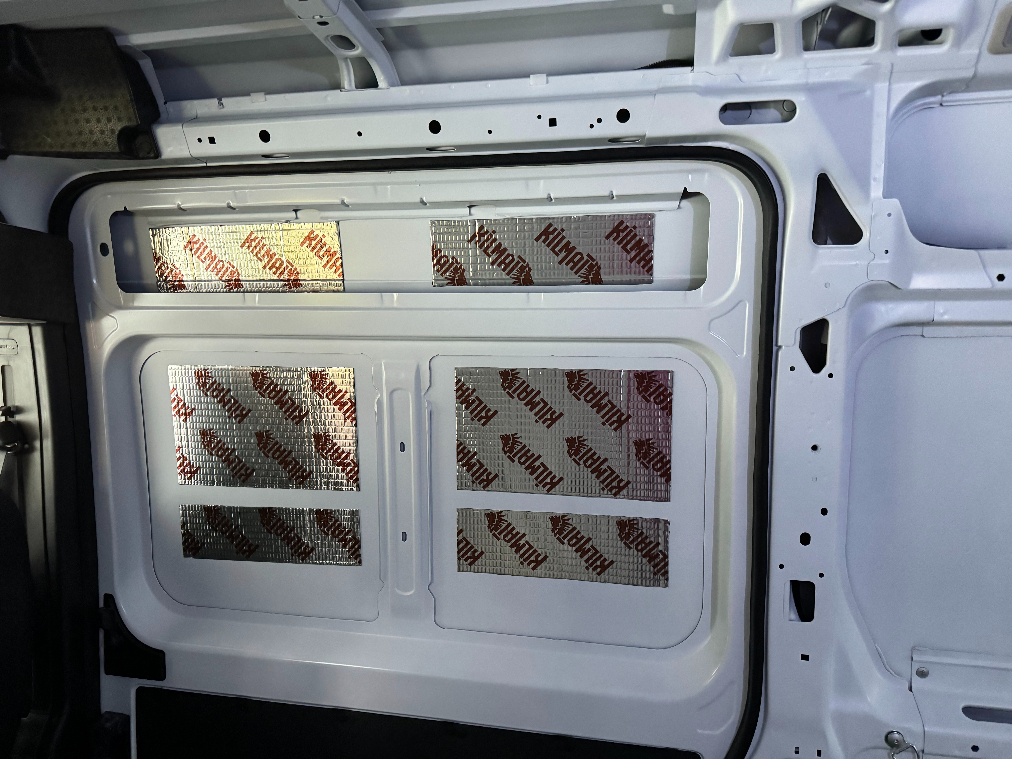
We used Thinsulate SM600L for most of the wall and ceiling. It is supposed to provide good insulation as well as certain noise absorption. On top of that, we used KILMAT for sound proofing.
The installation is pretty easy to say, but requires a lot patience:
- Install KILMAT - simply pick the spot, and stick it. We install it sparsely throughout the ceiling, wall and floor. We fully wrapped the wheelbases, which are particularly important for the noise when driving. Though we had a debate that we won’t likely be in the back of the van while driving - but anyhow we did it this way.
- Measure and cut the Thinsulate using a rotary cutter. It is way better than using a scissor!
- Spray 3M™ Hi-Strength 90 Spray Adhesive lightly on the wall/ceiling and Thinsulate right before the installation, wait a minute or so (double check the instruction), and they stick. Thinsulate is lightweight, so really no need to use too much adhesive.
- Cut Thinsulate in smaller pieces and fill all the channels in beams, and doors. To insulate the door, just need to take off the black plastic sheet and there is a lot of room for insulation.
We already mentioned how to insulate the floor using Bedrug VanTred.
We plan to use Low-E EZ Cool to cover exposed metals as much as possible once furring is done.