Van Build - Gas Heater
Picking a brand
Heating has been a debating point for a while. There are mainly three categories
- Branded names - such as Webasto is extremely expensive (>$1500 nowadays).
- They are supposed to have high quality.
- Consumes gasoline, instead of diesel. So much cleaner and easier solution compared with diesel heaters.
- No-brand diesl heaters
- These are often referred to as “Chinese” heaters on the internet. They often have the exactly same design as the branded ones in #1. I heard it is because the patent of the diesel heater has expired, so now those generic diesel heaters can be made by everyone. They are not that difficult to make apparently.
- They can really cheap (~$100)
- More work - you will need to purchase some extra accessories, need to find a location for the diesel tank. In the van (then you will need to take care of the smell, leak, etc. ), or outside (e.g under the hood).
- And more maintainance and one more thing to consider - diesel.
- Relatively cheaper gasoline heater
- This is the route we choose. It is not as expensive as Webasto (~$650).
- Quality should not be a big concern. Based on the comparison between #1 and #2, and many tear-down videos many youtubers have shown, the gas and diesel heaters share almost identical structure. The only difference is the gas/air intake. So we concluded that the build quality shouldn’t be a big concern.
- Instead, we want to find a vendor with reasonably good custom service.
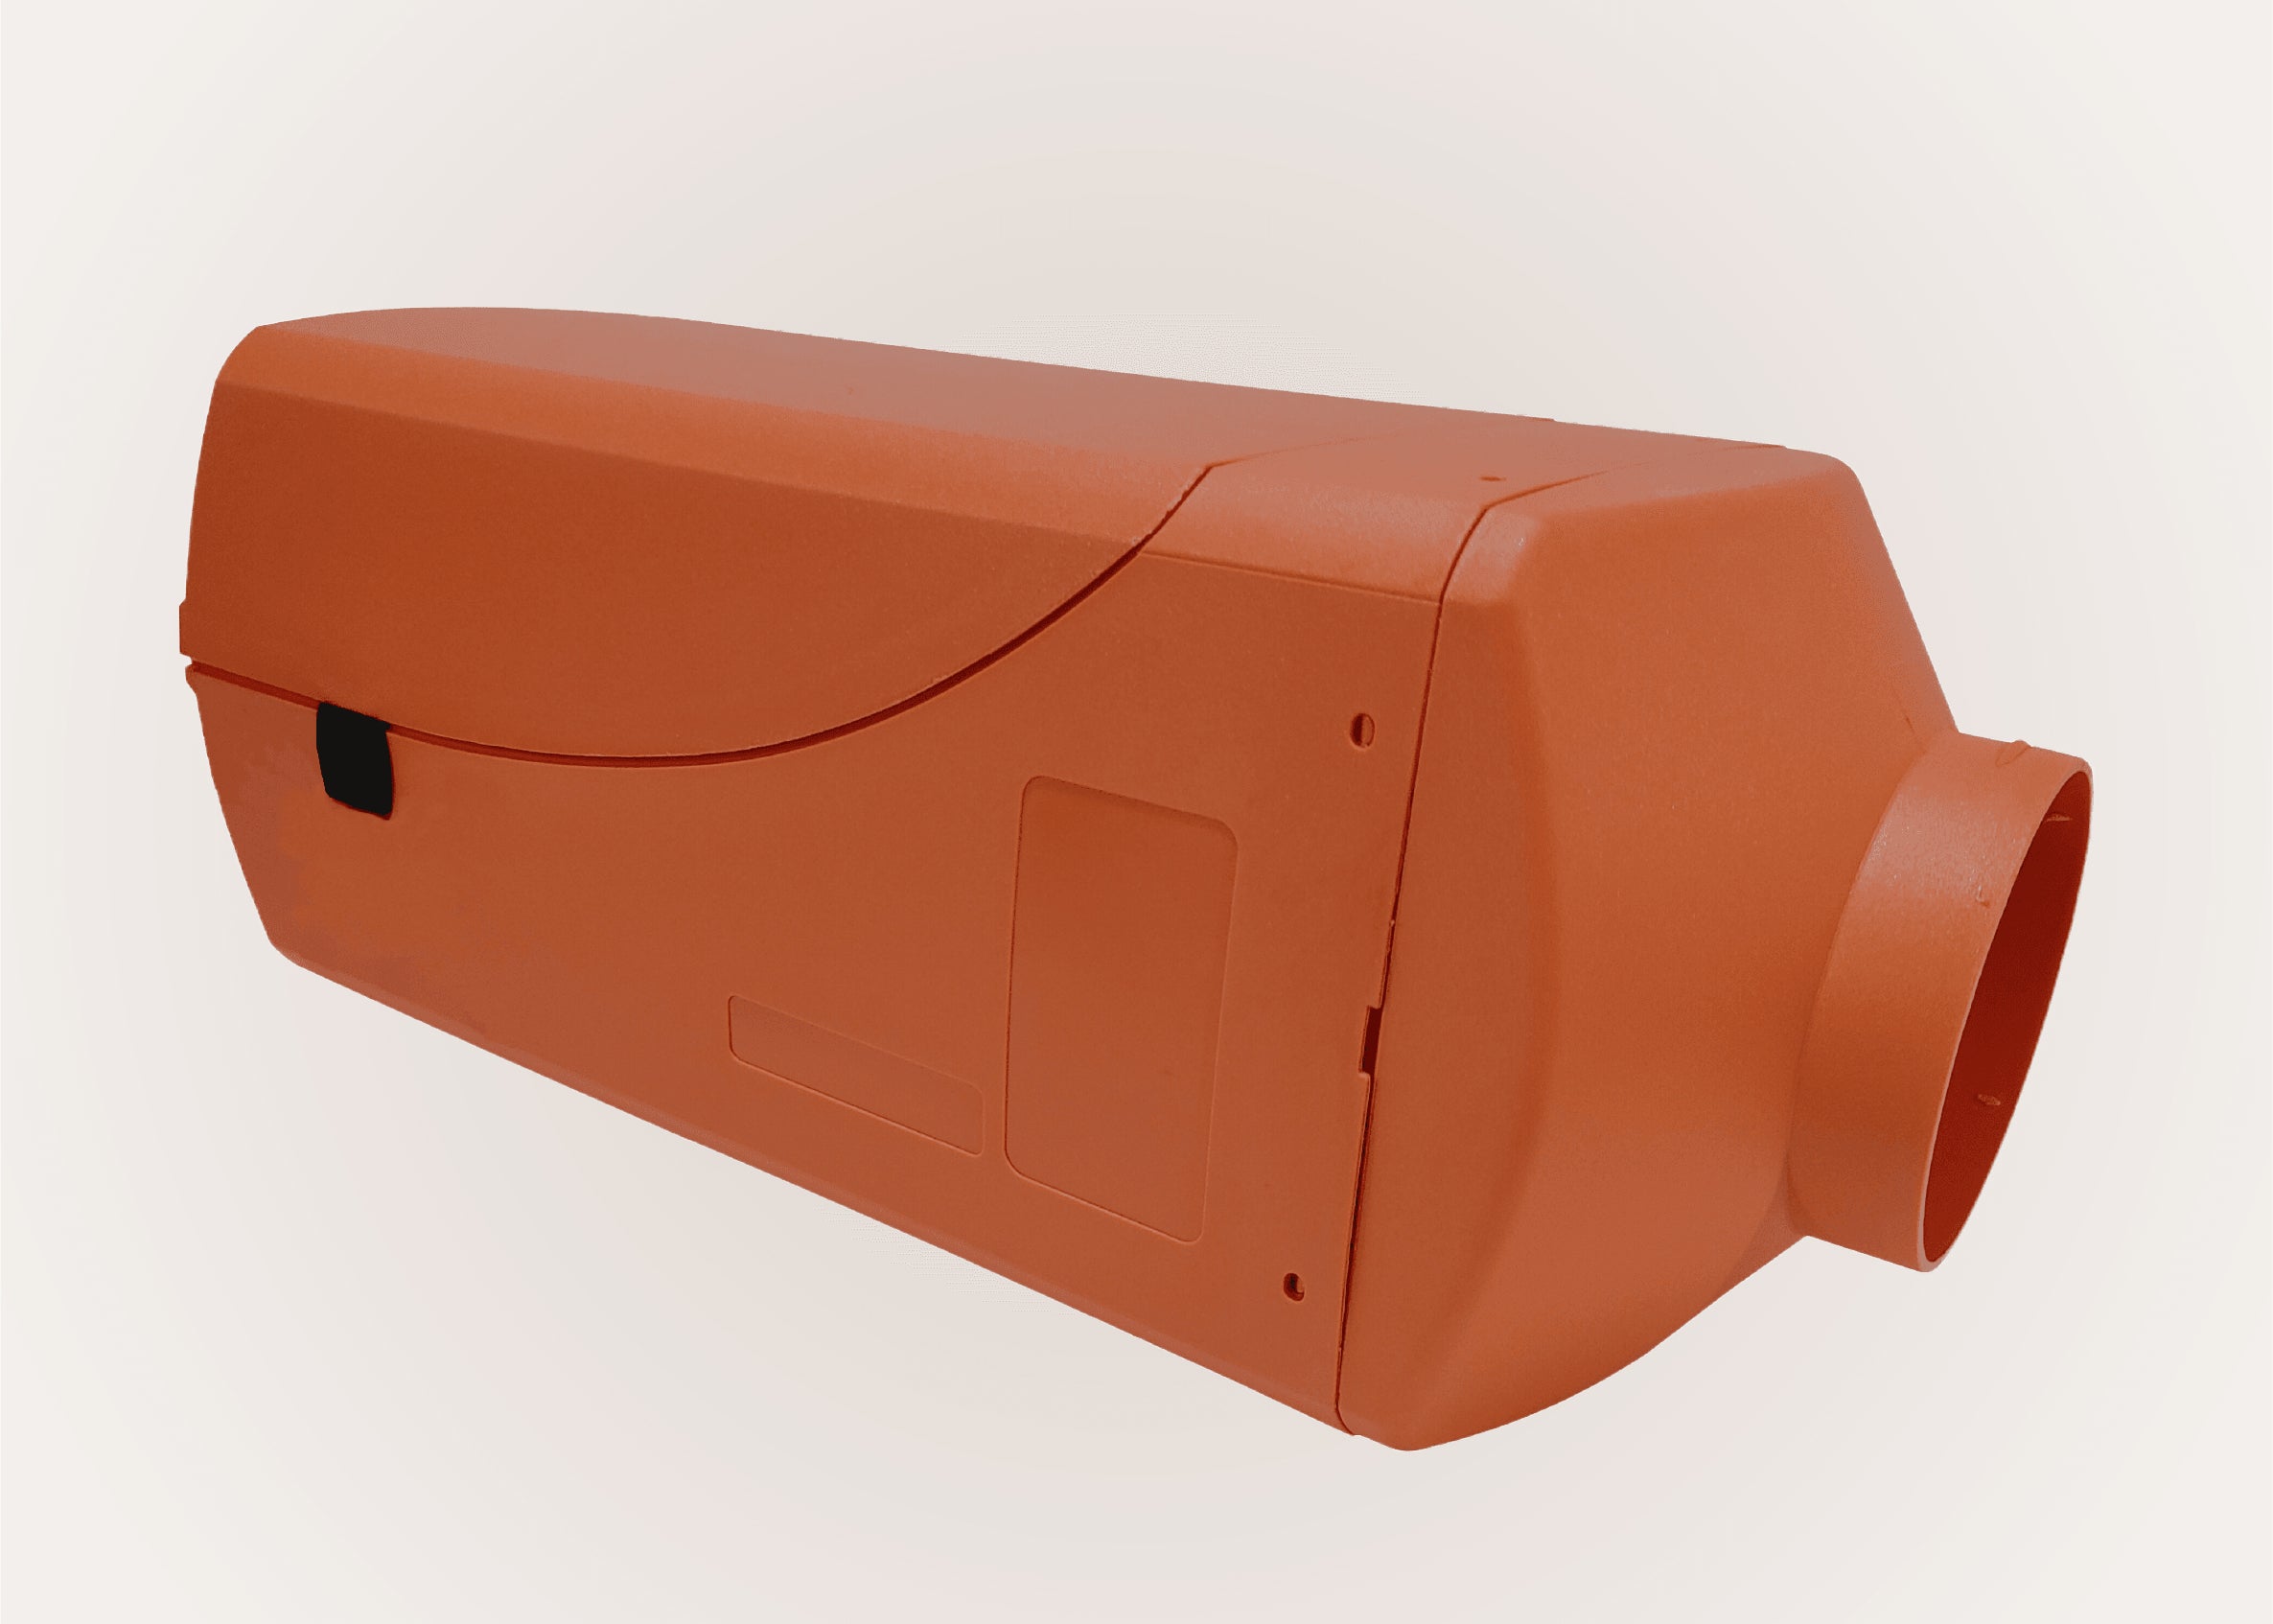
We ended up picking a Velit gas heater.
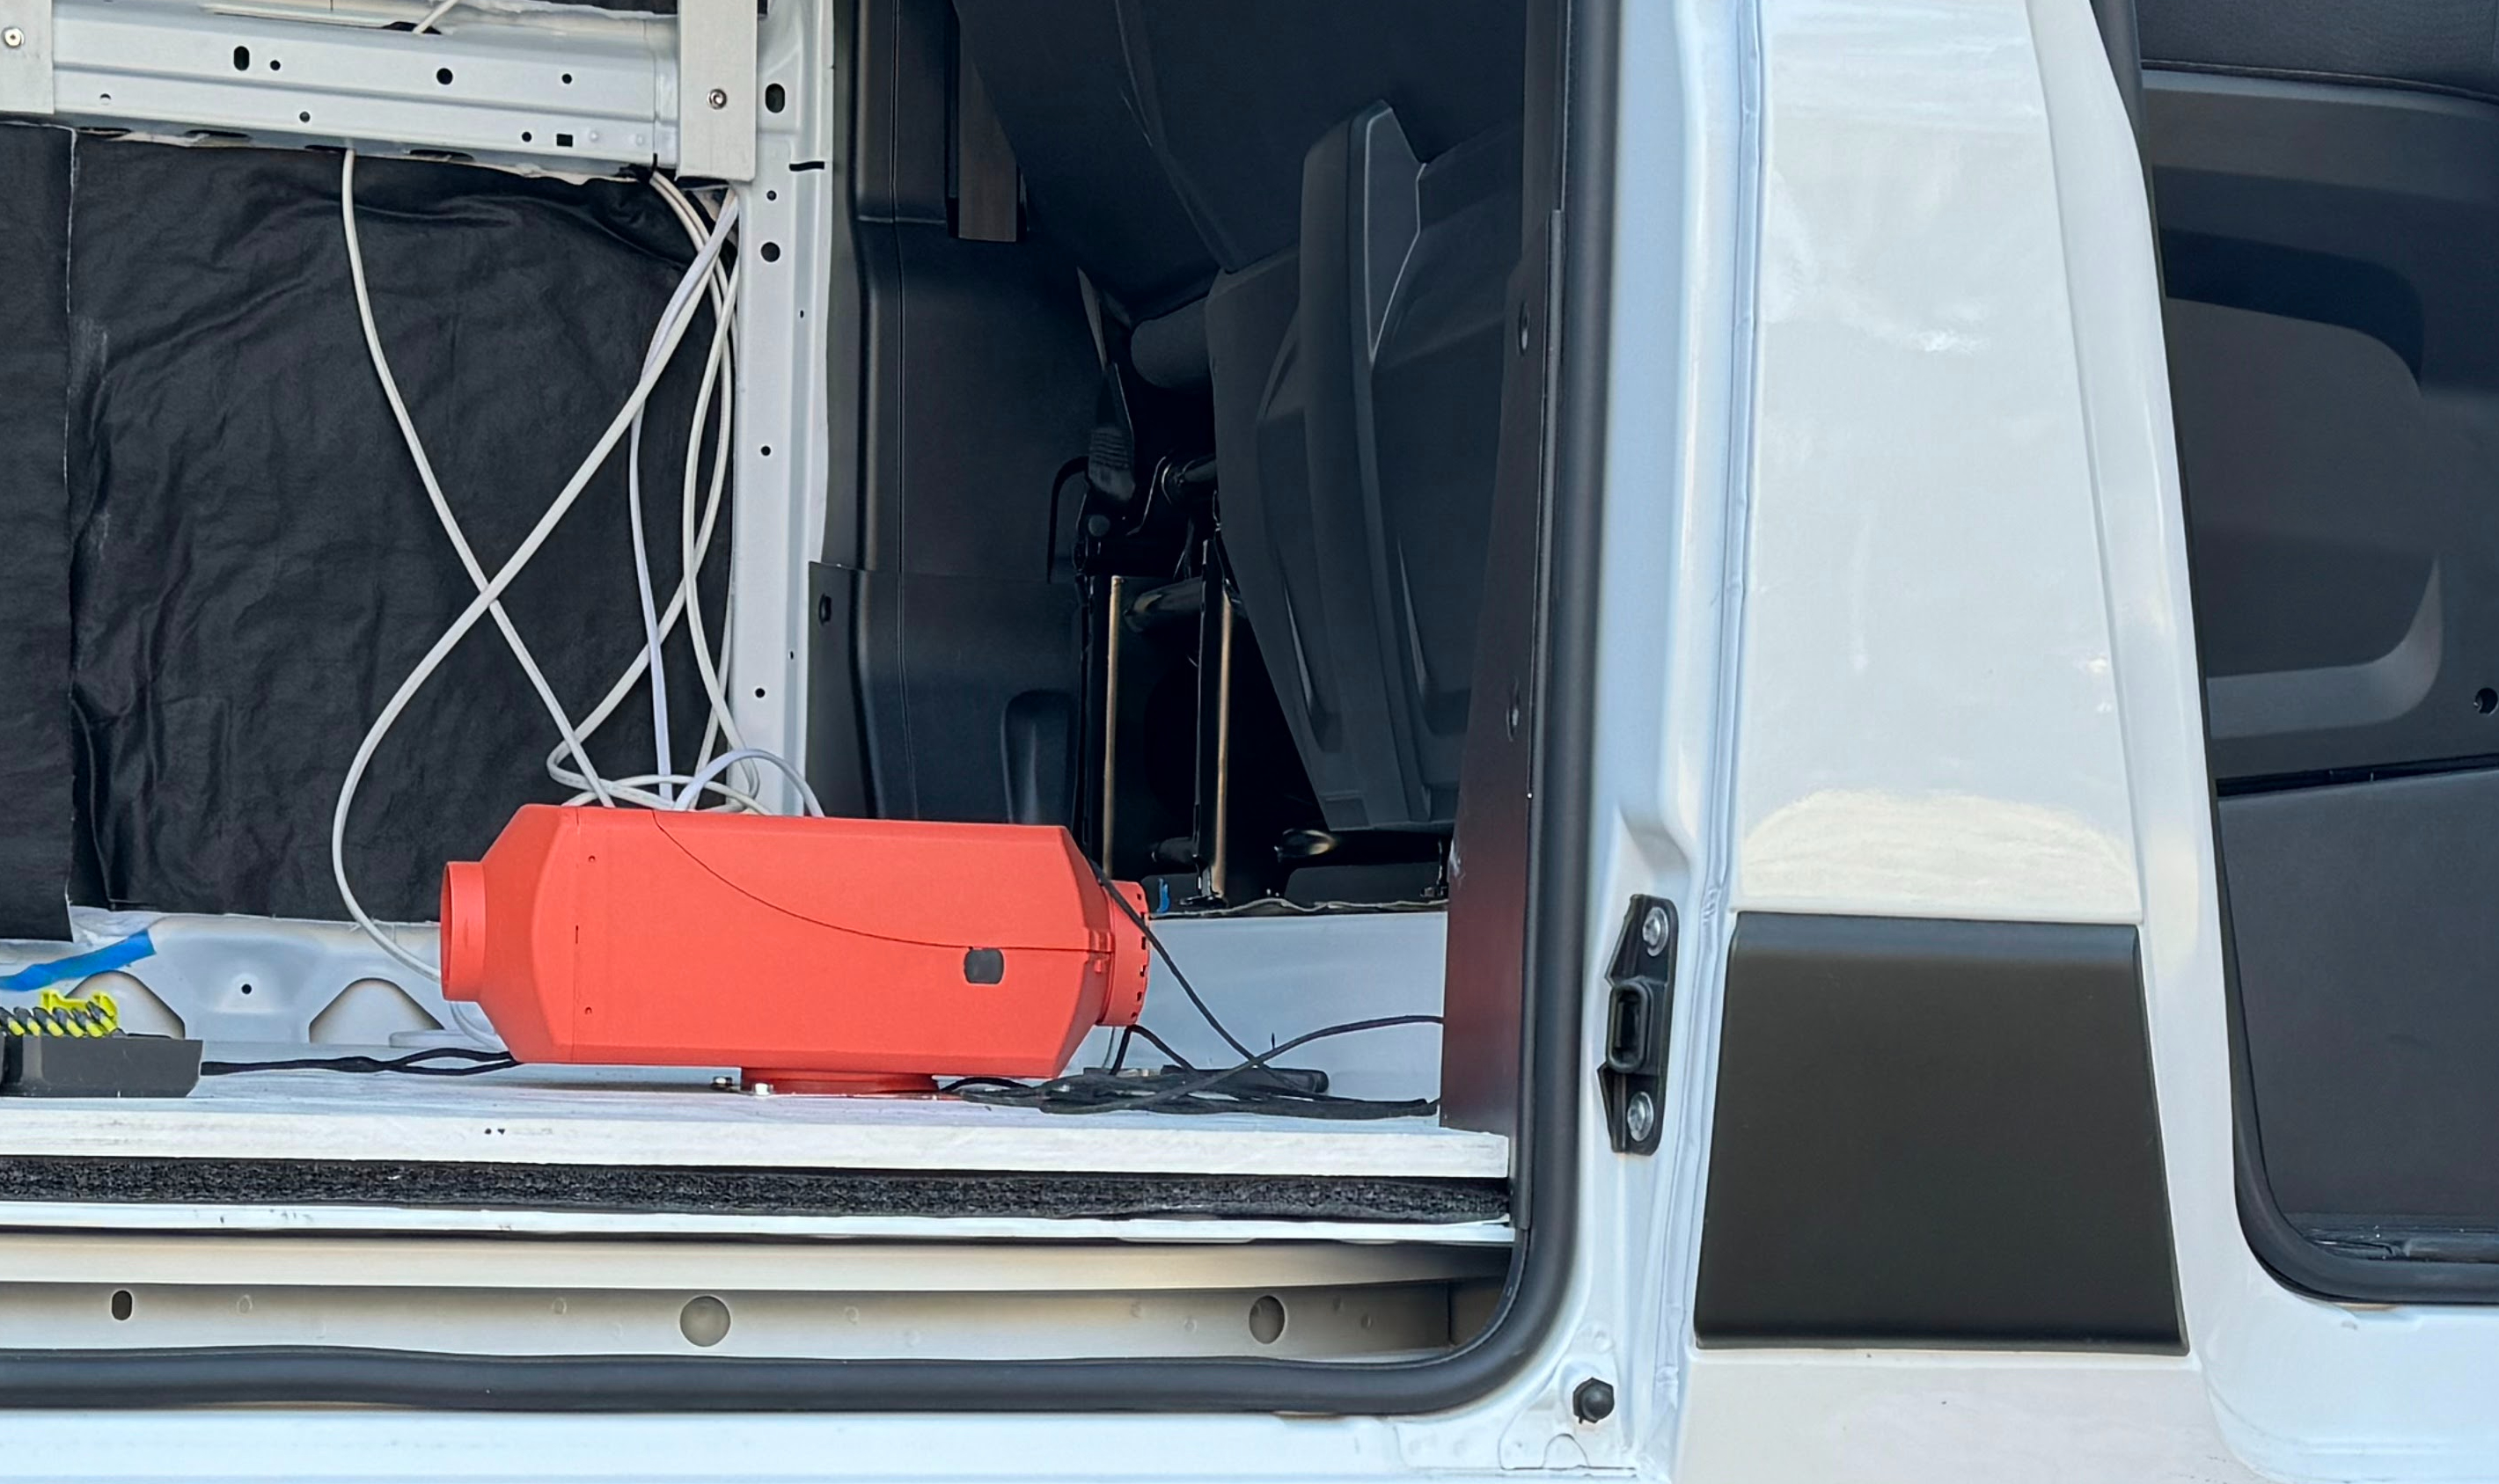
Location
Initially we wanted to install it under the seat. However, Velit heater is a bit bulky.
We also considered installing it in one of the cabinets. The concern is that fuel line would very quite long, which increase the burden of the little fuel pump. To be honest, if we were to install it again, we may consider this option. The very short fuel line we ended up with makes installation a bit challenging.
The spot we pick is right behind the step (behind the seat).
Installation
It shares the exactly same design on the the mounting measurements, when compared with Webasto, so you have many choices of fittings/adaptors.
It claims that it include everythinig you need to install, though we still bought:
- Fuel line sleeve to protect the lines exposed to the bottom of the van.
- 3M Fire Barrier Sealant to seal the hole when mounting it on the floor.
- Hole saw for cutting the hole.
The installation process itself is straightfoward, though lying on the cold ground is no fun in Feb.
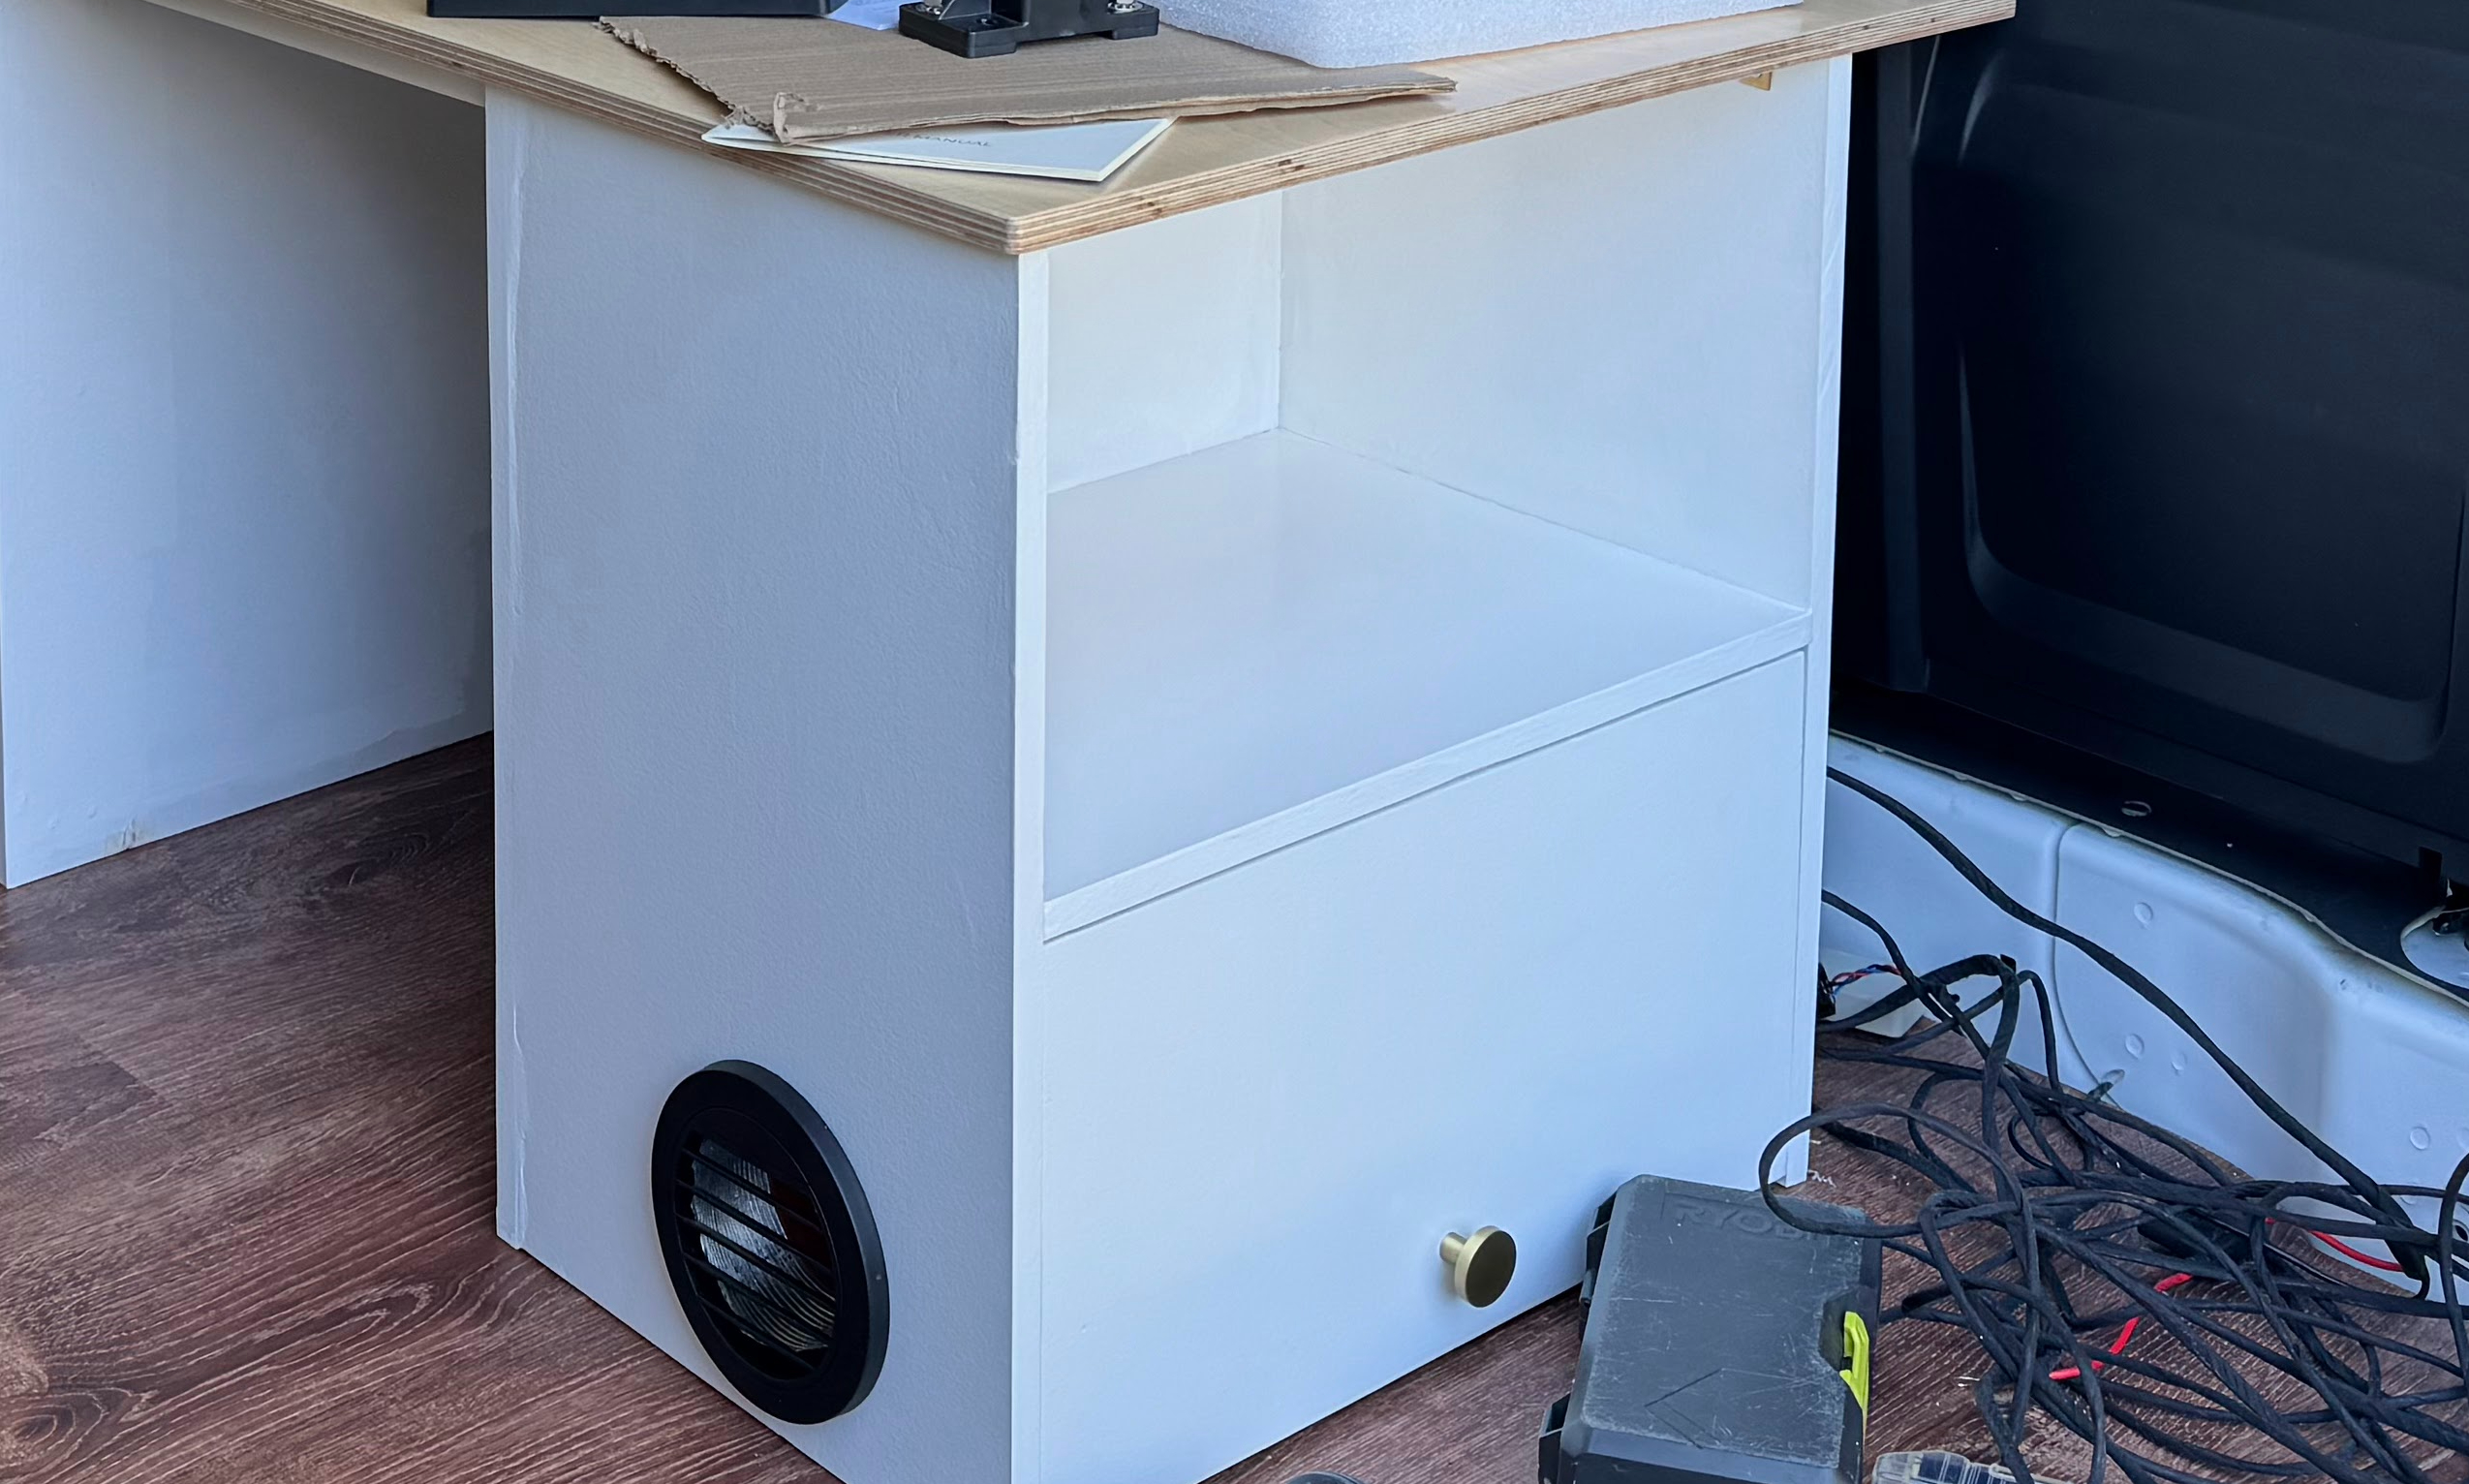
Housing
Fast forward, we added a housing which is a part of our little shoe rack.
Lastly - turn on
Turn on the heater, and you can hear the very light clicking sound when the fuel pump is working. It took a few restarts to finally get the fuels in, and then it pumps warm/hot air like a charm!
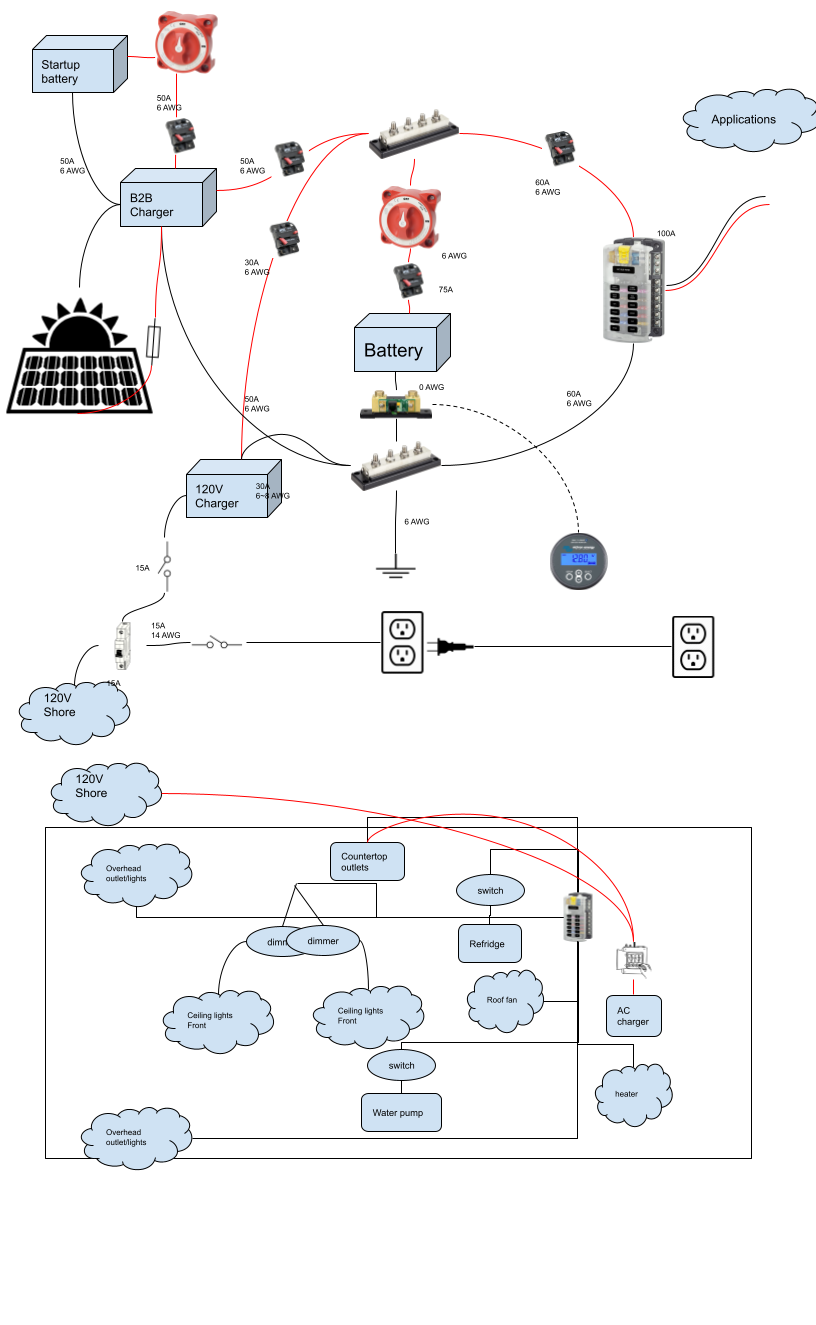
Electricals
Just a note on the power consumption. It comes with a 20A in-line fuse, but we still hook it up with our fuse block. The initial current is peaked at 12A, then lowed to 2-4A depending on the power setting.
Update 2025-10
With very minimal use, it stopped working in fall before winter came. It won’t start. Checked various components, pump, motor, pipe and etc.. Contacted the support and replaced a new controller, which eventually fixed the issue. After re-installation, the fan started making noises. Apparently it is scratching the housing. I had to sand away some plastic.
Anyway, it is working again, and we are warm!