This time, I would like to share my experience in using a RF transmitter to control power outlet, so that I can control my floor lamp and other simple electronic devices.
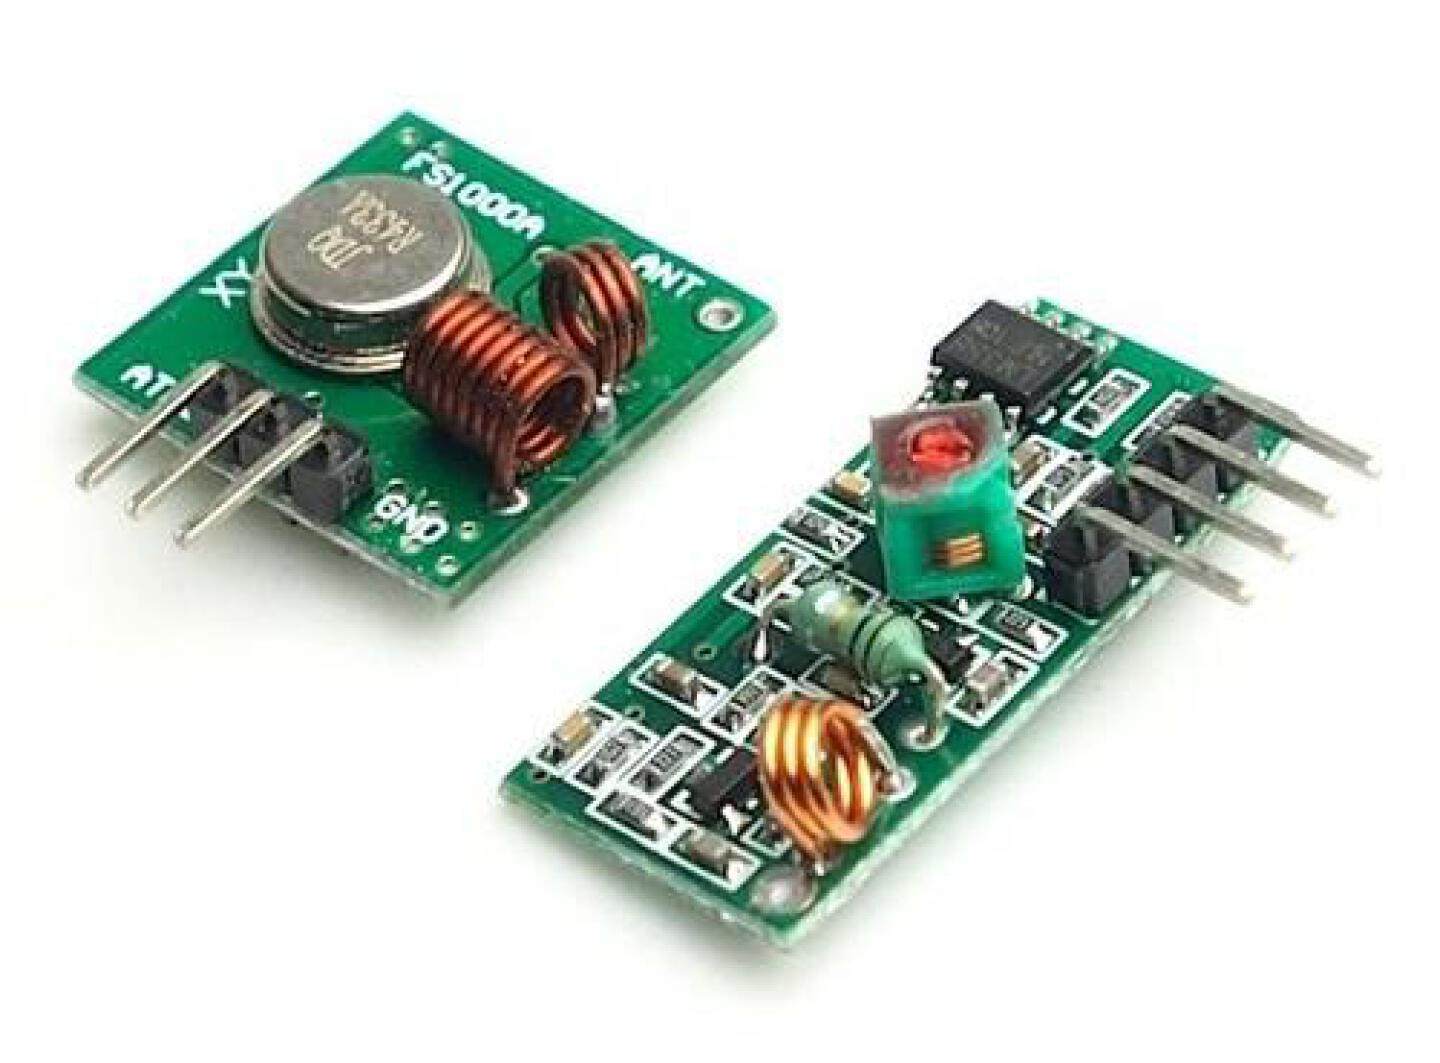
First, here are what you need:
Connection is straightforward. It uses standard ground, 5V power pins and simply connect data pin to the raspberry pi’s GPIO pin. The wireless power outlet uses 433MHz as well, so it can be synced with this module. Next, we need to know how the remote power outlet talks to its controllers. To do this, I found a nice package 433Utils. Simply download the package and install. Before installing, you will need to modify the code RFSniffer.cpp and codesend.cpp with the right PIN you used in the Raspberry Pi. Then, install it by typing the following.
cd ~/
git clone git://github.com/ninjablocks/433Utils.git
cd 433Utils/RPi_utils
make
Now, call the sniffer function as below to actively listen to the ports, while keep pressing the remote control
sudo ./433Utils/Rpi_utils/RFSniffersYou might see a bunch of numbers. Some of them might be slightly different due to the background noise and weak signal, but you can easily tell which number show up the most frequently. For me, it is a 6-digit number 34XXXX.
Next, we can send the exact signal by typing the following.
sudo ./433Utils/Rpi_utils/sendcode 34XXXXNote, I notice the default code does not work out of box. I need to set tweak the codesend.cpp code by adding a line “mySwitch.setPulseLength(189);” right before the line “mySwitch.enableTransmit(PIN);”.
Now you will send the exactly same signals as the factory remote control. Surprisingly, this tiny module is much stronger than the factory remote control. It can control the socket in the next room :). If you need even stronger signal, you can attach a wire to the antenna hole on the module.
Enjoy hacking the remote control:)